GoHighLevel Sign Up: How to Create a GHL Account + Extended 30-Day Free Trial
Starting your GoHighLevel journey takes less than five minutes — and if you use the right link, you won’t pay a thing for the first 30 days.
This guide walks you through every step of the GoHighLevel sign up process: choosing your plan, entering your business info, handling your payment details, verifying your account, and confirming your trial is actually active.
Whether you’re a solopreneur, a marketing professional, or an agency owner ready to start scaling, you’ll find everything you need right here. Read to the end — there’s also a bonus stack waiting for you when you sign up through this link.
How to Get the Extended GoHighLevel 30-Day Free Trial (Not the Standard 14-Day Trial)
Before you even open the signup form, there’s one thing you need to know: not all free trials are equal. GoHighLevel’s homepage offers a 14-day trial by default.
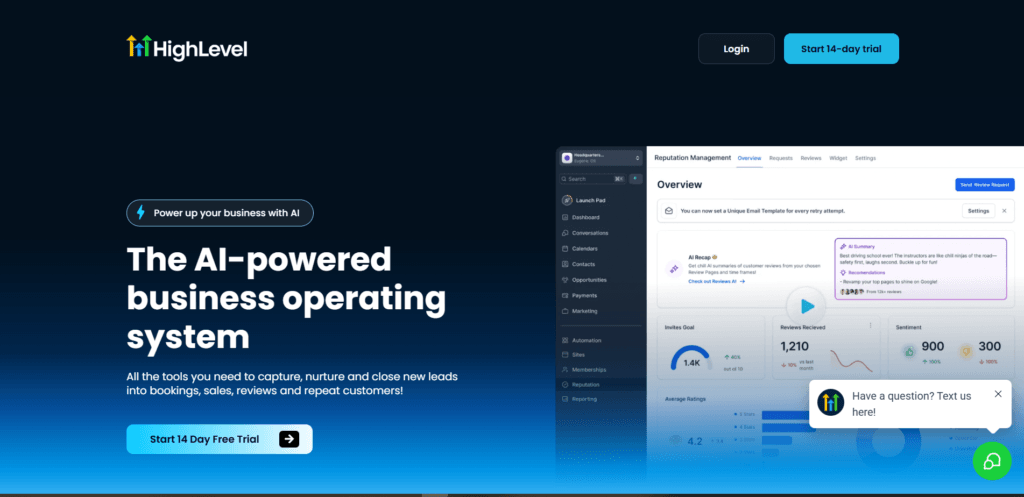
However, by using our dedicated affiliate link — you unlock an extended 30-day free trial instead of 14.
That extra 16 days makes a real difference. The 14-day trial barely gives you enough time to get through onboarding and start testing automations.
The 30-day trial gives you a full month to explore the platform, build out your workflows, set up sub-accounts, and decide with confidence whether GoHighLevel is the right fit for your business — without feeling rushed.
Always use a trusted affiliate link to access this extended 30-day offer, because you genuinely won’t get it by visiting the homepage directly.
How to Create Your GoHighLevel Account: Step-by-Step Signup Process
When you click the affiliate link and land on the GoHighLevel signup page, you’ll see the option to start your 30-day free trial prominently displayed.

Click it to begin the gohighlevel signup process. The first step of the signup form asks for your business information: your company name, your full name, your email address, and your phone number.
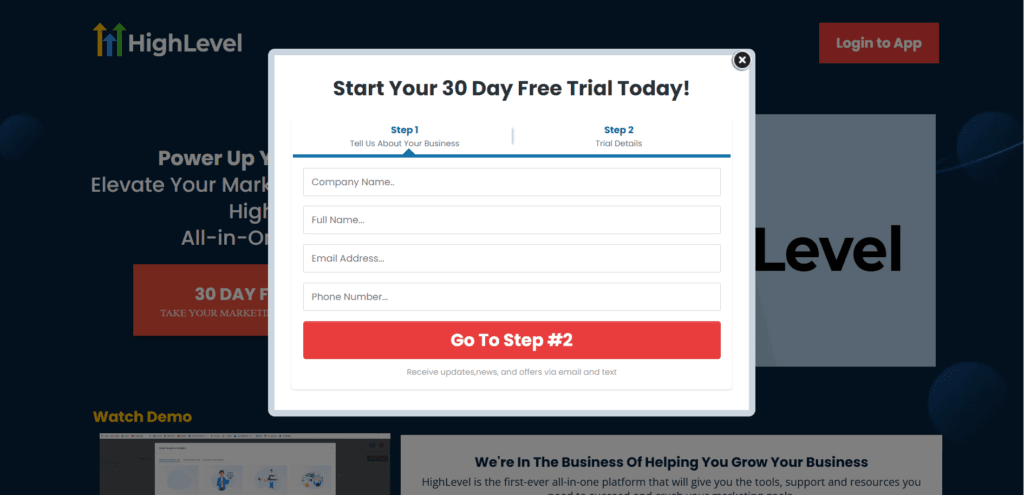
Make sure you select the correct country code before entering your phone number, as this affects the verification step that comes later.
Once your business info is filled in correctly, click to proceed to step two. This is where you’ll handle your trial details and payment information. You’ll need to enter your credit card details — card number, expiration date, and CVC.
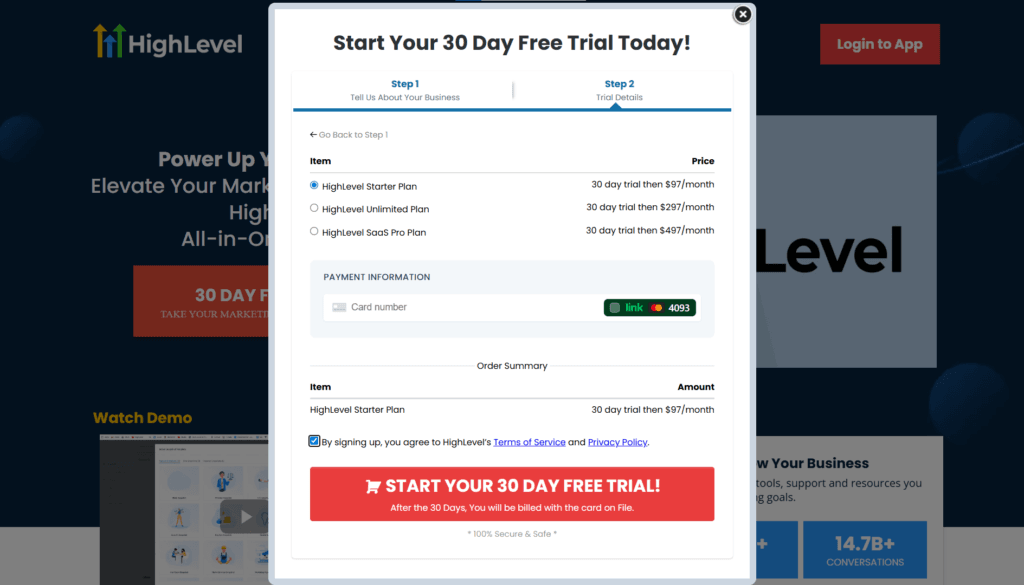
Don’t worry: you won’t be charged until your trial ends. Review your order summary carefully before agreeing to GoHighLevel’s terms of service and privacy policy, then click to start your trial.
Your gohighlevel account is now created.
Which GoHighLevel Plan Should You Choose During Signup?
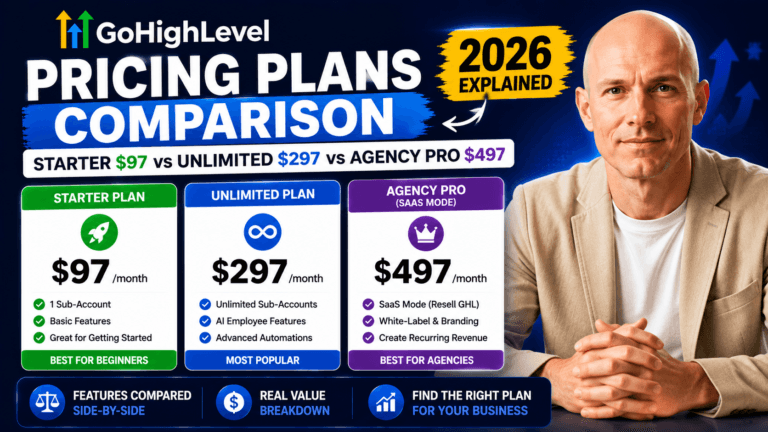
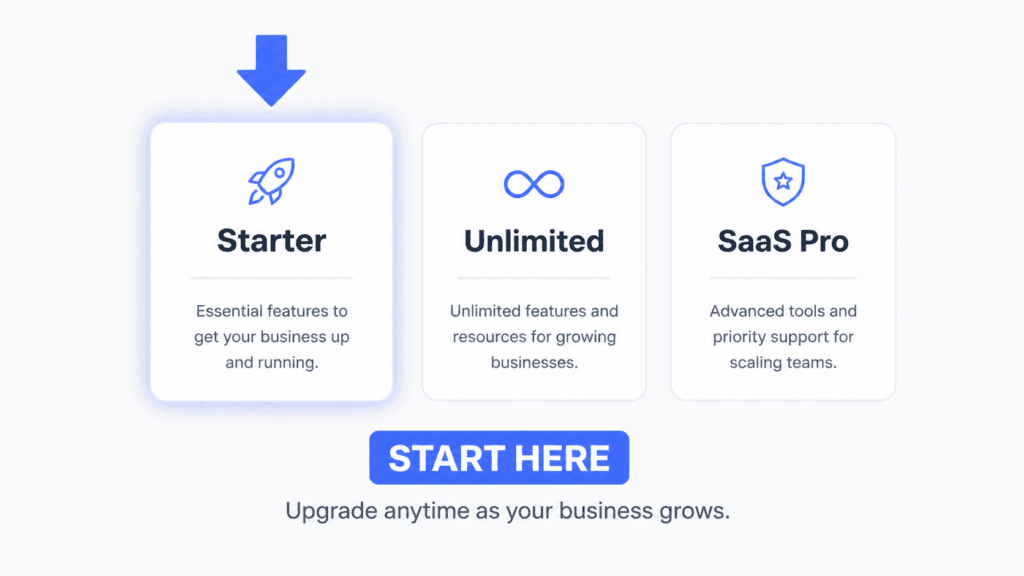
Choosing the right plan during signup is one of the most important decisions you’ll make, so take a moment to understand the gohighlevel plans before you proceed.
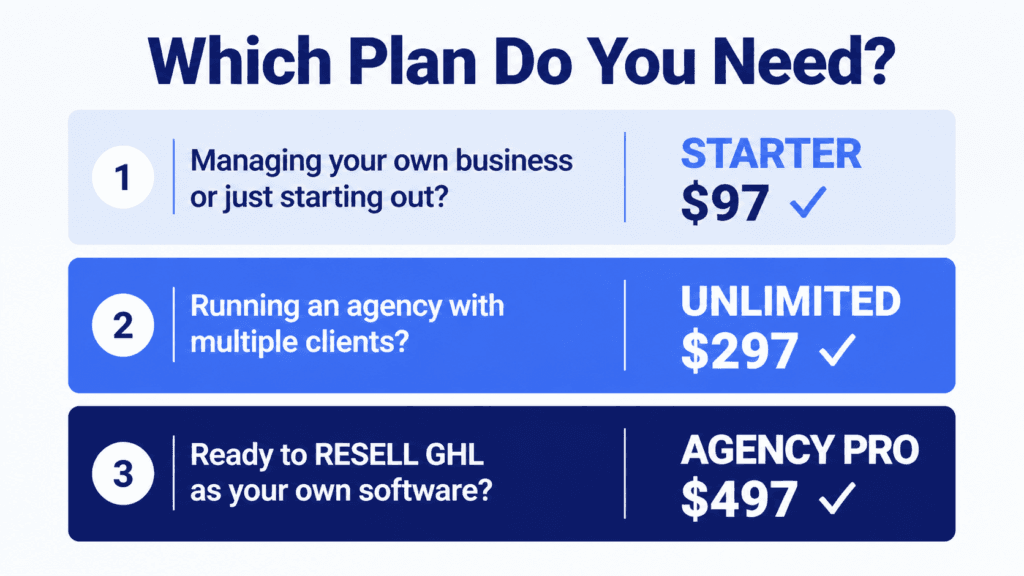
There are three tiers available, each targeting a different type of user.
Starter Plan
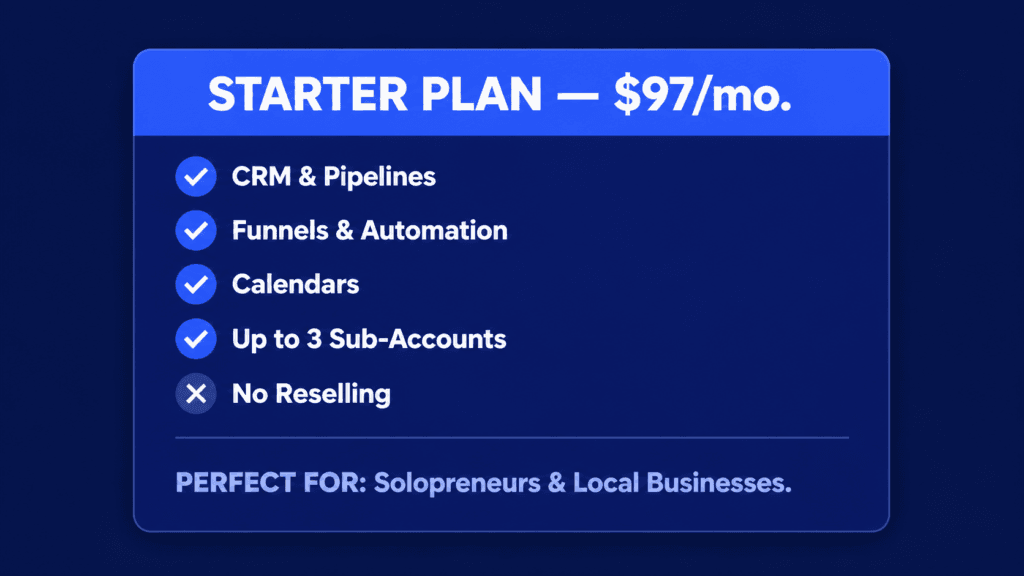
The Starter plan costs $97 per month after your trial ends. It gives you access to all the core features — funnels, automations, CRM, pipelines, calendars, and all the features GHL offers— and is perfect for solopreneurs or small and local businesses managing their own operations.
The main limitation is that it caps you at three sub-accounts, which is enough if you’re managing only your own business or a couple of clients.
Unlimited Plan
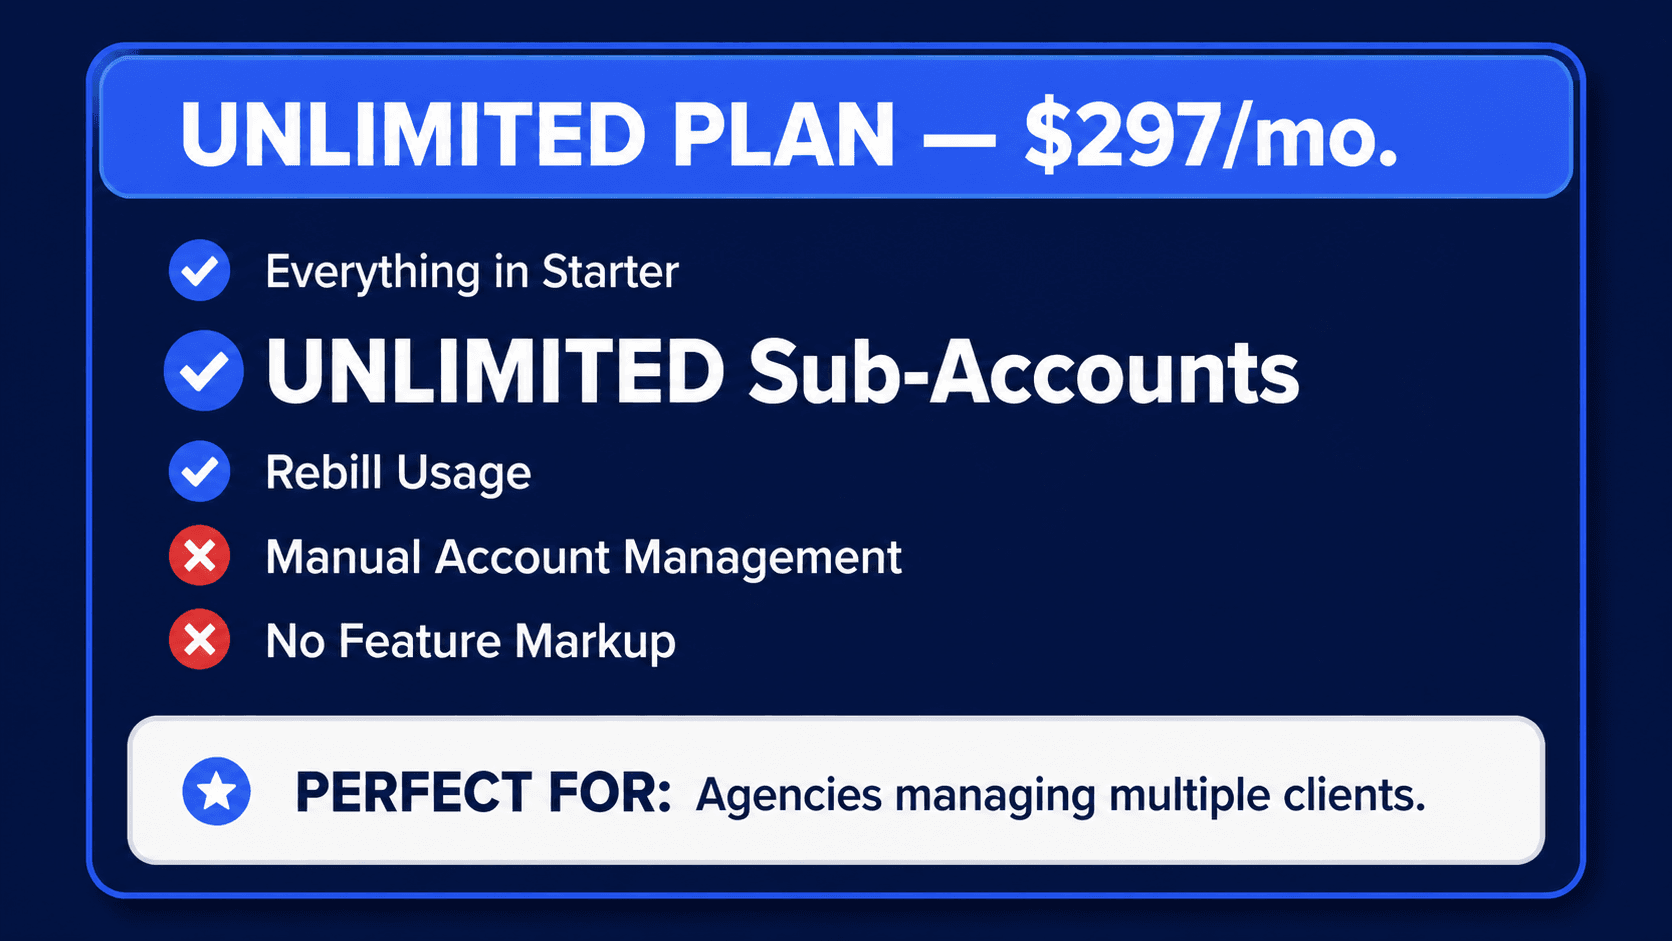
The Unlimited plan is priced at $297 per month and is built for agencies. It removes the sub-account cap entirely, so you can manage as many clients as you want without hitting a wall.
The feature set is same as the Starter plan — the key upgrade is truly just the unlimited sub-accounts.
It’s worth noting that managing those sub-accounts is still a largely manual process on this plan, and while you can rebill users for email and phone system usage, you cannot add markup to features.
SaaS (Agency Pro) Plan
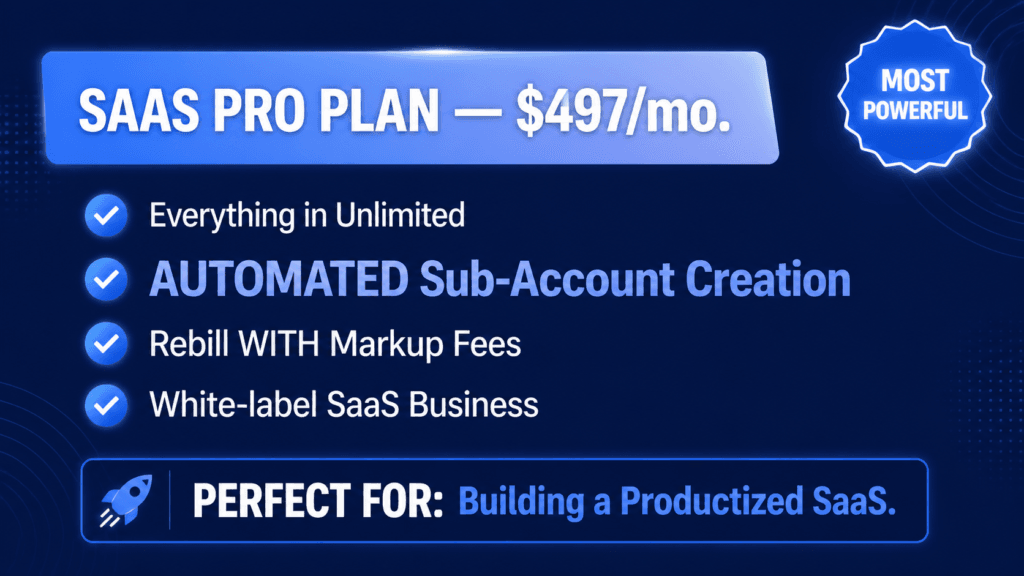
The SaaS Pro plan at $497 per month goes a step further: it lets you automate the creation of sub-accounts and enables you to resell GoHighLevel as your own branded software, complete with markup fees on optional add-ons.
This is the plan to upgrade to if you’re running GoHighLevel as a productized service. If you’re unsure, start with the Starter — you can always upgrade later.
What Happens After You Complete the GoHighLevel Signup?
Once your sign-up is complete, GoHighLevel redirects you to an onboarding page where you’ll take a few more steps to fully activate your account.
First, you’ll create your password. Then, you’ll verify your email address. Finally, you’ll verify your phone number — and this is where some users hit a snag.
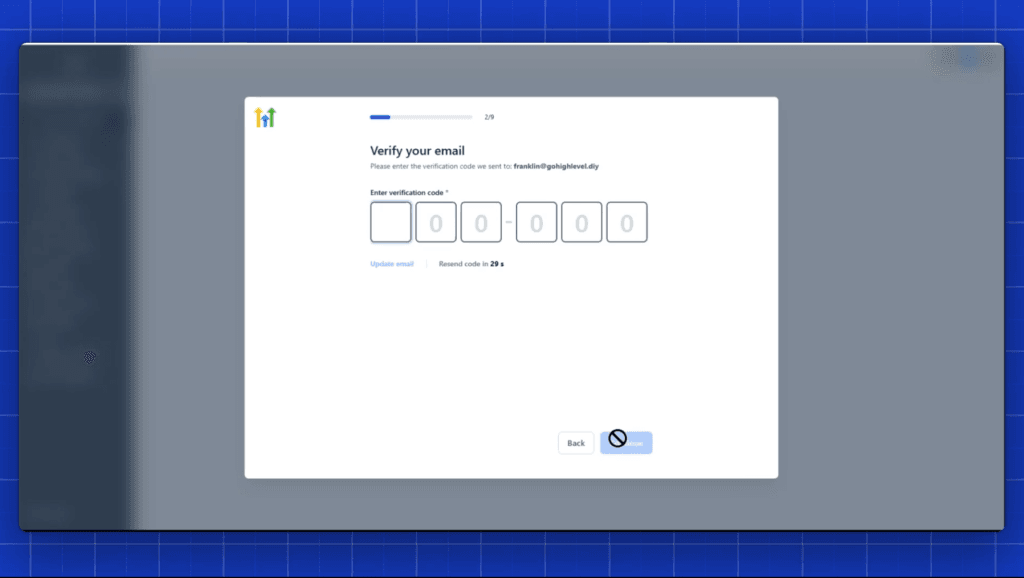
If the SMS or email verification code doesn’t arrive after a couple of attempts, don’t panic.
You have a few options: you can update your phone numbers and try a different one, resend the verification code, or — if you’ve tried multiple times without success — join a live Zoom onboarding session hosted directly by GoHighLevel’s own team.
Their specialists can manually verify your account and get you moving. This is actually a great option if you’re stuck, because you also get to ask questions during the session and get personalized guidance on your account setup.
How to Complete the GoHighLevel Onboarding Questionnaire
After your phone is verified, GoHighLevel walks you through a short onboarding questionnaire. It asks about things like the number of employees in your business, the tools you’re currently using, and what you plan to use GoHighLevel for. This section might feel optional, but it’s worth taking seriously.
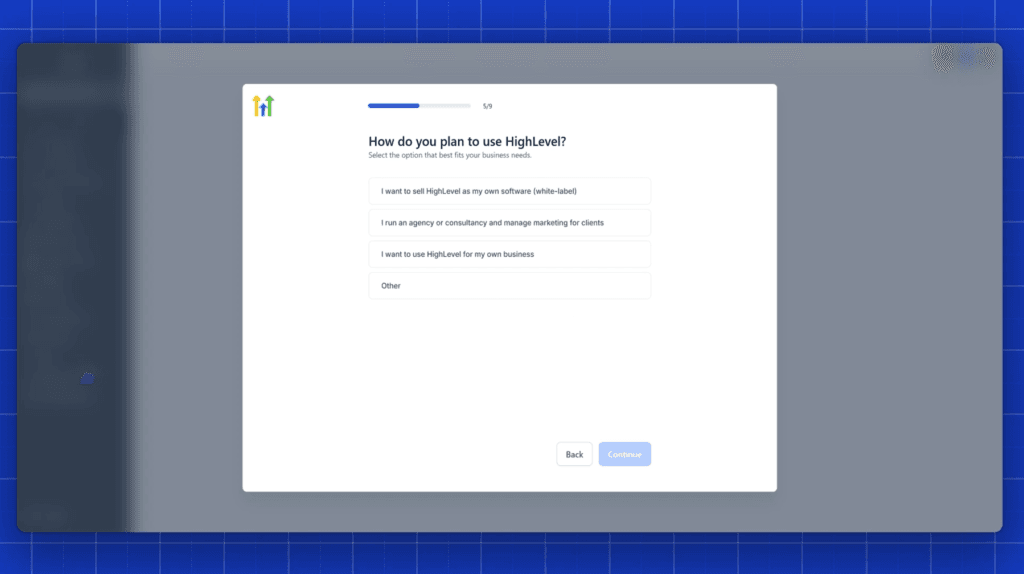
Your answers are used to personalize the tutorials, resources, and video content that appear inside your dashboard once you access the platform.
A well-filled-out questionnaire means GoHighLevel surfaces the most relevant guides for your specific situation — whether you’re an agency owner managing clients or a solopreneur trying to automate your own business.
Think of it as GoHighLevel building you a custom onboarding snapshot based on your goals. Once the questionnaire is complete, your account is fully unlocked and you can access the platform.
How to Confirm Your 30-Day Free Trial Is Active
After you’re inside your dashboard, one of the first things you should do is confirm that your extended trial was actually applied to your account. This is especially important if you signed up through an affiliate link expecting the 30-day trial rather than the standard 14-day trial.
To verify this, find the agency view dropdown — this is the account switcher that lets you toggle between your sub-account and your agency-level view. Switch over to the agency view, then navigate to Settings, and open the Billing section.
Here you’ll see your active subscription details, including your trial end date and your current billing status. Confirm that the 30-day trial is showing correctly before you start building anything out.
This gives you full peace of mind that your extended trial is in place and that your payment gateway won’t process a charge until the trial ends.
What to Do First Inside Your GoHighLevel Dashboard
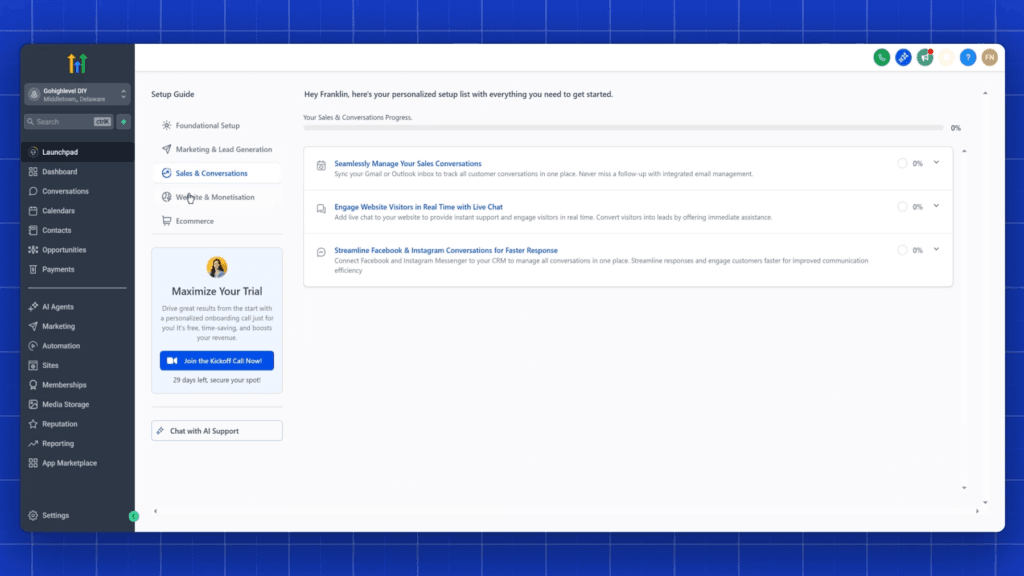
Once you’re inside the dashboard, look for the launch icon in the bottom right corner of your screen. Clicking it opens GoHighLevel’s foundational onboarding steps — a set of guided tutorials designed to help you learn the platform quickly.
These cover everything from setting up your pipeline and calendar to enabling your LC phone system, creating your first sub-account, and learning how to add your custom domain.
If you’re brand new to the platform, going through these guided steps is the fastest way to get productive. They walk you through the settings tab, help you configure your workspace, and explain how to connect your billing and stripe integration.
For agency users, this is also a good time to create your first sub-account and begin exploring how the multi-account structure works before you start onboarding clients.
What Are GoHighLevel Sub-Accounts and What They Mean for Your Agency?
Sub-accounts are at the heart of how GoHighLevel is structured for agency use. Each sub-account functions as a separate client environment — its own contacts, pipeline, automations, snapshots, email settings, phone numbers, and more.
This is what makes GoHighLevel so powerful for agencies: you can manage dozens of clients from a single agency view without their data ever mixing.
On the Starter plan, you’re limited to three sub-accounts, which is enough for most solo operators. On the Unlimited plan and the SaaS Pro plan, sub-accounts are unlimited.
If you’re planning to scale your agency and onboard a high volume of clients, the Pro plan’s ability to automate sub-account creation becomes a genuine revenue driver.
You set it up once, and new clients can be spun into their own environment automatically — no manual work required. That kind of automation at scale is exactly what separates a productized agency from a services business trading time for money.
Can You Upgrade, Downgrade, or Cancel Your GoHighLevel Subscription?
Yes — GoHighLevel gives you flexibility with your subscription after your trial ends.
If you start on the Starter plan and find you need more sub-accounts or want to unlock UMLIMITE sub-account feature, you can upgrade to the Unlimited plan or upgrade to the Pro plan directly from your billing settings.
The upgrade takes effect immediately, and you’re billed the pro-rated difference.
You can also downgrade your plan if you find you don’t need all the extra features of a higher tier, though it’s worth noting that downgrading will affect availability of certain features that were active on your previous plan such as SaaS mode if you downgraded from the Agency Pro to the Unlimited plan.
If you decide GoHighLevel isn’t the right fit before your trial ends, you can cancel without being charged — you won’t be charged as long as you cancel before your trial ends.
All cancellations and plan changes are managed from the billing section of your agency view, and you can also reach out to GoHighLevel support directly if you need help navigating your subscription options.
What Bonus Do You Get When You Sign Up Through Our Affiliate Link?
Using the right affiliate link doesn’t just get you an extended 30-day trial — it also unlocks a bonus stack from our team.
Every person who signs up through our affiliate link receives a free one-on-one strategy session to help you map out your GoHighLevel setup. We also provide full account setup assistance, custom-built automations tailored to your business, A2P registration help for your SMS campaigns, access to our tested prompt library, and lifetime access to our private Facebook community.
That community is exclusive — it’s only open to our referrals, and it’s where we provide ongoing support to help you master GoHighLevel and actually use it to grow your business and possibly earn commissions as an affiliate yourself.
When you sign up through our affiliate link, the price is exactly the same as going directly to GoHighLevel. The affiliate link just means our team earns a small commission, which helps us create more in-depth tutorials and support resources. It’s a genuine win for both sides.
Key Takeaways: Everything to Remember About the GoHighLevel Sign Up Process
- Always use a dedicated affiliate link to unlock the extended 30-day free trial instead of the standard 14-day trial available on the homepage.
- Fill out the signup form carefully — your company name, full name, email, and phone number all need to be accurate for verification to go smoothly.
- Choose your plan based on your current needs — Starter for solopreneurs, Unlimited for agencies, SaaS Pro for those who want to resell GoHighLevel and automate sub-account creation.
- Your credit card is required at signup, but you won’t be charged until your trial ends — cancel before the trial ends and you owe nothing.
- Phone number verification can take a few tries — if the SMS code doesn’t arrive, use a different number or join a GoHighLevel live onboarding Zoom call for manual verification.
- Don’t rush through the onboarding questionnaire — your answers personalize the dashboard resources and tutorials you see.
- After logging in, always confirm your 30-day trial in Settings → Billing under agency view before you start building.
- Use the launch icon in the dashboard to access guided onboarding tutorials — especially important if you’re new to the platform.
- Sub-accounts are how you manage clients — the plan you choose determines how many you can create and whether the creation process can be automated.
- Signing up through our affiliate link unlocks a full bonus stack — including 1-on-1 strategy, account setup help, automations, A2P registration, a prompt library, and lifetime community access — all at no extra cost.